
Greyboxing Levels
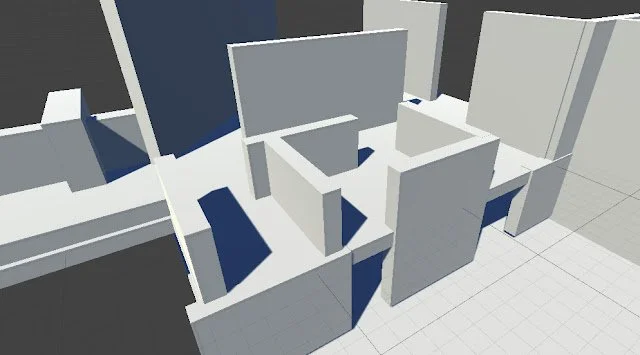
Source: Robert Yang, Radiator Blog
This Week in Game Development
I’m still working on The Last Humble-Bee!
I began the week by trying to flush out levels from start to finish, drawing the artwork, making a few levels look really polished. However, I quickly found that creating the artwork and applying post-processing FX was be tedious and may need to be redone if any part of the design is altered. That’s when I remembered the concept of Greybox level design - essentially, this means that you can prototype levels faster by holding off on polishing the artwork for the level. A useful video on greyboxing can be found here.
With this process, it’s vital to map out the level and get all the assets and design in-place before polishing. Here’s the basic workflow I’ve landed on for my game:
Sketch levels on sticky notes. Pen and paper feels good for expressing creativity.
Prototype the level directly in game engine using mimimal assets (to “block out” your level, not paying much mind to making the assets and arrangement polished).
Playtest the game, keeping in mind the level design considerations I outlined in my blog from last week.
Repeat.
The key to this level design process is iteration and playtesting, so in order to accommodate this, I needed to tweak the parameters of my level-design tools so that I could more quickly “Greybox” my levels.
Since one of the key pillars of my game is “Exploration”, I’m taking my time on this step of game development. It’s important that the space the character inhabits feels fresh, interesting, and re-playable. It’s also a weak spot of mine as a game developer, so I’m really trying to let all this level-design stuff soak in.
Next week I’ll continue prototyping levels for my game, and hopefully have some cool lessons learned from doing do. Cheers.